Wednesday 26 March 2014

Ancillary Original to Edited Photos

Digipak:

Front Cover -


Inside Cover -


CD -


Back Cover -


Magazine:

Advert -


Final Cut Audience Feedback

As we did for our rough cut, we showcased our final cut on the projector in front of our media class in order to get feedback from people who had been through the same process as us. 

We were eager to show people what we had done as we had worked really hard since the rough cut as we had filmed the whole performance again.

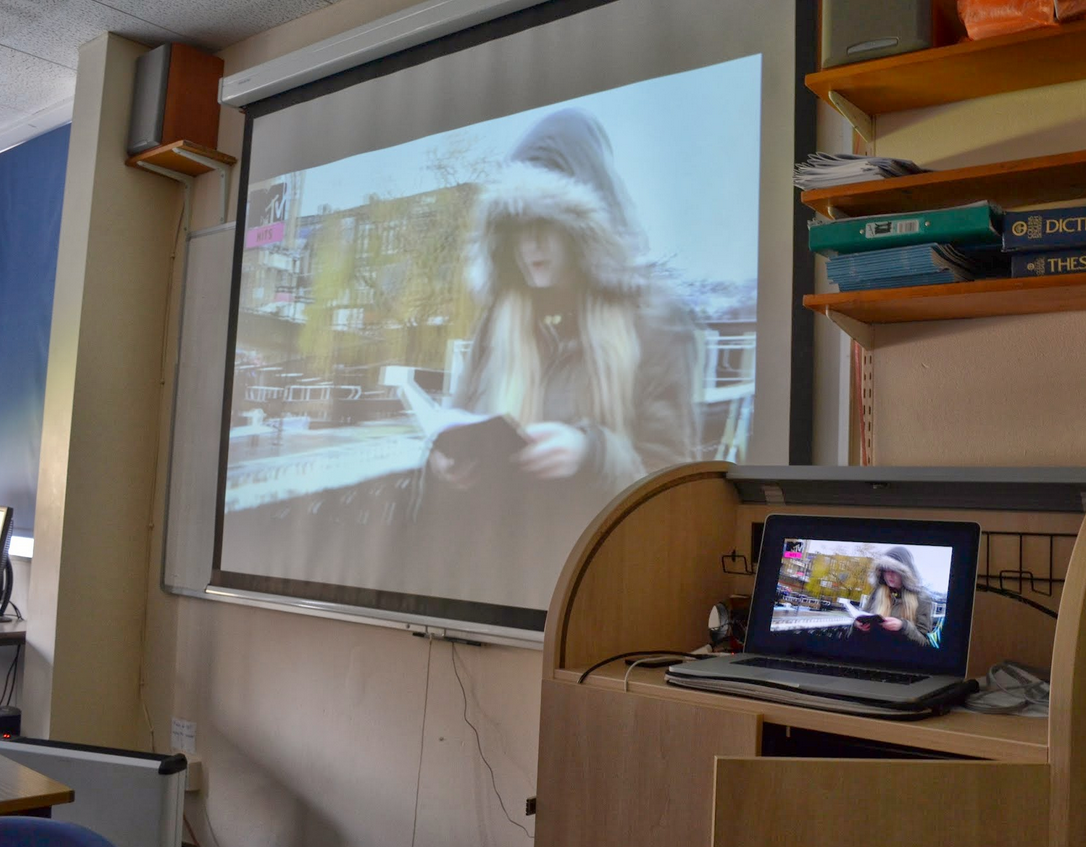
Here are some photos of the class watching our music video:


Just like before they were asked to write feedback hopefully including more positives than negatives!

Here is a summary of the points made:
+ a lot better than the rough cut
+titles at the start look professional
+ candle shot was effective
+ makeup was good
+ well edited, editing suits the pace of the editing
+ shots of piano/church really good
+ lighting of church shots are good
+ good locations
+ good use of mise-en-scene
+ good angles
+ first stained glass shot is fantastic
+ high quality shots
+ good selection of shots for a slow song

- zooms are too long and off putting
- shots of the model walking towards camera should be shorter
- model cannot play the keyboard/ doesn't look like she's playing
- lip sync is out in some parts
- second stained glass window shot is not needed and was not in focus
- too many scenes with the book
- too much panning 


Monday 17 March 2014

Digipak Cover Construction

The construction for the digipak will be created on Photoshop. I will start by doing the front cover which will consist of a photo of the artist along with her name and album title.

I started by setting the dimensions of the page equally so that it would consist of a square which is the shape of a digipak:


On the left side of digipaks there is a separate part which is for the spine. I had to draw a straight line so that I could see where the spine design would be situated:


There needs to be two fonts on the cover 1) for the artist's name 2) for the album title. I used the Photoshop library of fonts to test a few. My favourite was the bottom one in the dark gold colour:


After shifting through hundreds of photos we decided that this photo would be on the cover:


I played around with the brightness, contrast, vibrance, black and white to try and improve the photo. This kept the photo very similar to the original but just made it more enhanced. However, once I came across the hue and saturation tool new ideas came to mind. This tool changed the colour of the hair and eyes to whacky colours such as pink, blue and green. We thought we could just a different colour for each panel. We decided to use pink hair for the cover, but we made the eyes black. As you can see a lens flare has been added:


The next decision was making the choice of fonts along with the size and colour of it. When we had chosen we made sure that the font and colour would be incorporated onto the CD:


The next part of the cover to add was the spine line, this was done by using the line tool. After the line was created, we added in the text which would go along it: 


Our final cover:


Flat Plan of Digipak


Magazine Flat Plan


Digipak Construction CD

First of all I had to use the same size canvas as used for the other panels of the digipak. Once I had done this I began creating the shape of the CD:


Then I use the ellipse tool in order to create a smaller circle which will go in the middle representing the hole in the physical CD:


At first we wanted to have a flat colour with just the text:


When this looked too simple we decided to use a photo from the photo shoot, we created this by using tools such as the invert,:


We liked this, we then added the text and decided where to position it and this led us to our final CD:


Monday 10 March 2014

Parental Advisory

Explicit content in the music industry consists of themes of drugs, sex, and violence with the use of profanities. 

On CDs with explicit content in the form of song lyrics, the parental advisory logo will be placed on the front of the CD which stops under 18s from buying the album. However, this logo is not that effective as people do not always ask for ID and it is known that parents will willing buy it for their under age children anyway. Another method of gaining access to this CD is by buying online. 


Artists tend to release a 'clean' version of their album if the original is deemed explicit. This then allows the whole market to have the opportunity to buy the album. People who are over 18 may still not appreciate explicit content and therefore choose the edited version. 

The song we chose to do our music video to is called 'Your Song', this song holds no explicit content and it does not come from an album which is deemed explicit; therefore we won't have to worry about putting this on our digipak. 


Fine Print on Digipaks

On the back of albums there information featured which includes elements such as the year the CD was released, the record labels the artist is with, the people who worked on the album such as the executive and album producer.

When it came to writing our own small print of the CD we knew it would be vital to cover the aspect of copyright. After going through existing small print we found a trend in which it said 'the copyright in this sound recording is owned by (record company)' and 'all rights of the manufacturer/owner/producer of this work produced unreserved' and 'unauthortised copying, reproduction hiring, lending, public performance, rental and broadcasting prohibited'. We will use these phrases so that the writing is relevant and conventional to existing CDs rather than just some random text.  

This information tends to be set out at the bottom of the CD in a straight line that covers the width of the page. However, this is not always the case.